Do you clean your makeup brushes regularly? I know so many people in my life who don’t- and I totally get it! I used to DREAD cleaning my makeup brushes until I found the routine I have now. No matter how big a hassle though, cleaning your makeup brushes is essential for getting the best possible makeup application and to keep your brushes (and therefore your face!) bacteria free and squeaky clean.
Let’s jump right in because this routine is super simple and it’s more than likely you have most of the tools needed to get clean brushes!
WHAT YOU’LL NEED:
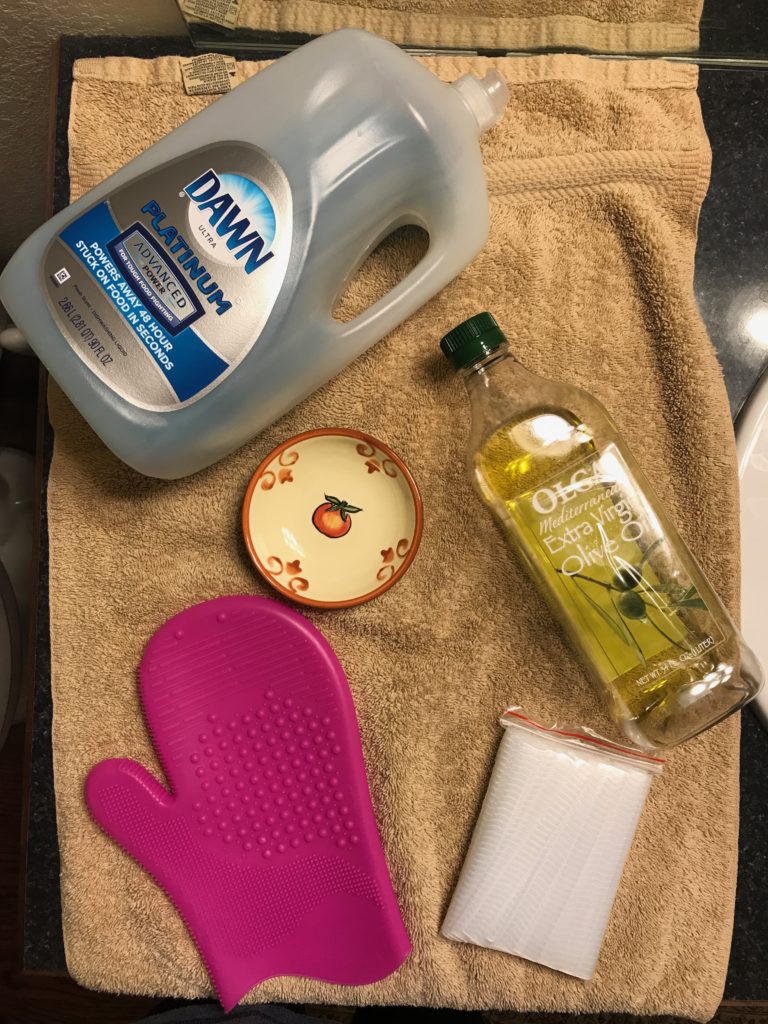
- Dish soap (to see another cool use for dish soap, check out my Favorite Hair Products post)
- Olive oil
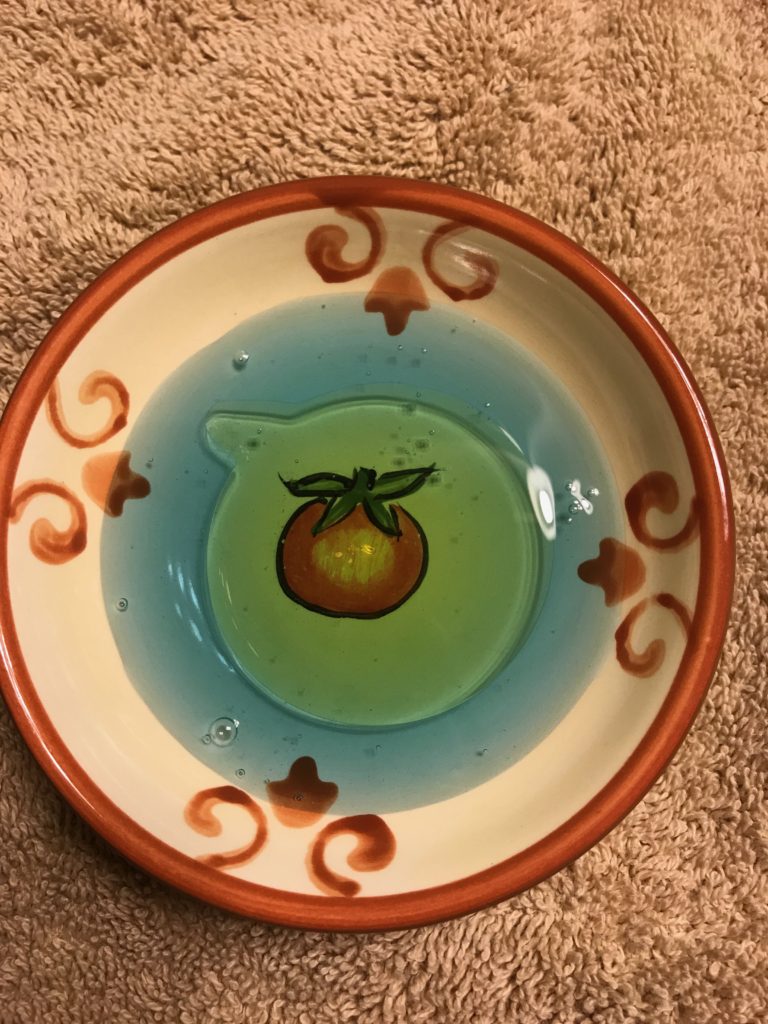
- A small tray to mix the two in
- A glove to help clean your brushes (Anything will do- I got mine at TJ Maxx for something like $5.99, but something like this one from Amazon looks almost the exact same! You can also DIY one like this)
- Brush guards (these are ESSENTIAL and very cheap! I get these exact ones from Amazon.
- A towel to set your brushes on to dry
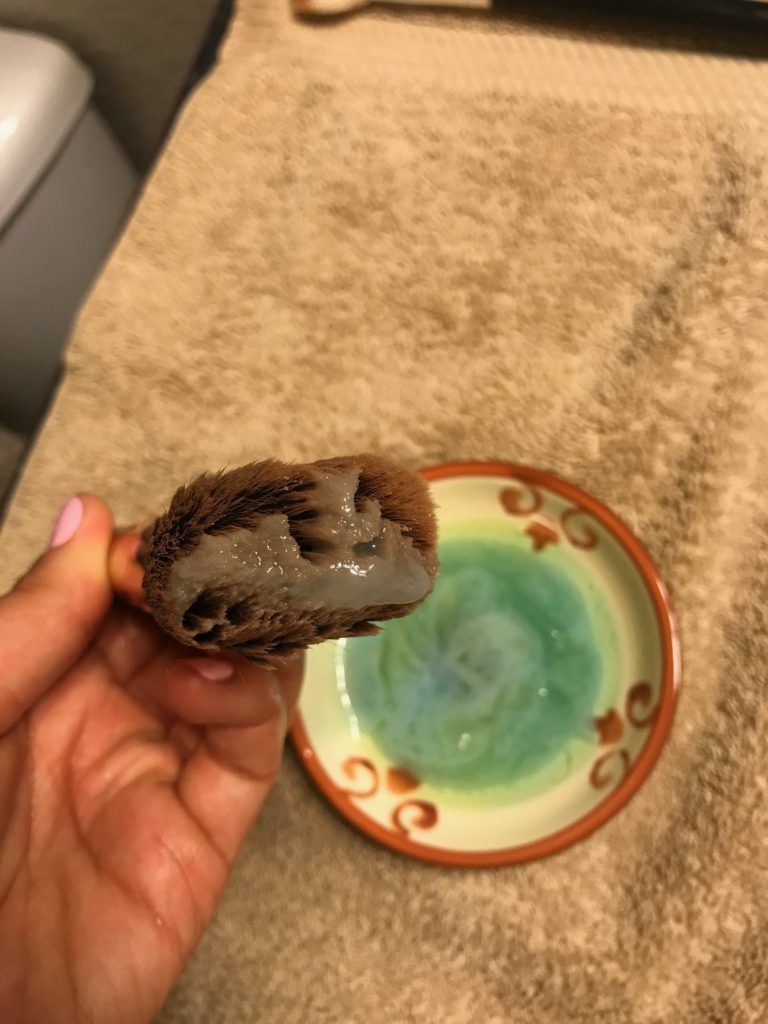
The dish soap is going to clean your brushes and get all the grease and dirt out of them, while the olive oil is going to help moisturize and condition your brushes as you clean them. For my mixture, I do two parts dish soap and one part olive oil, and I just eyeball it.
THE STEPS:
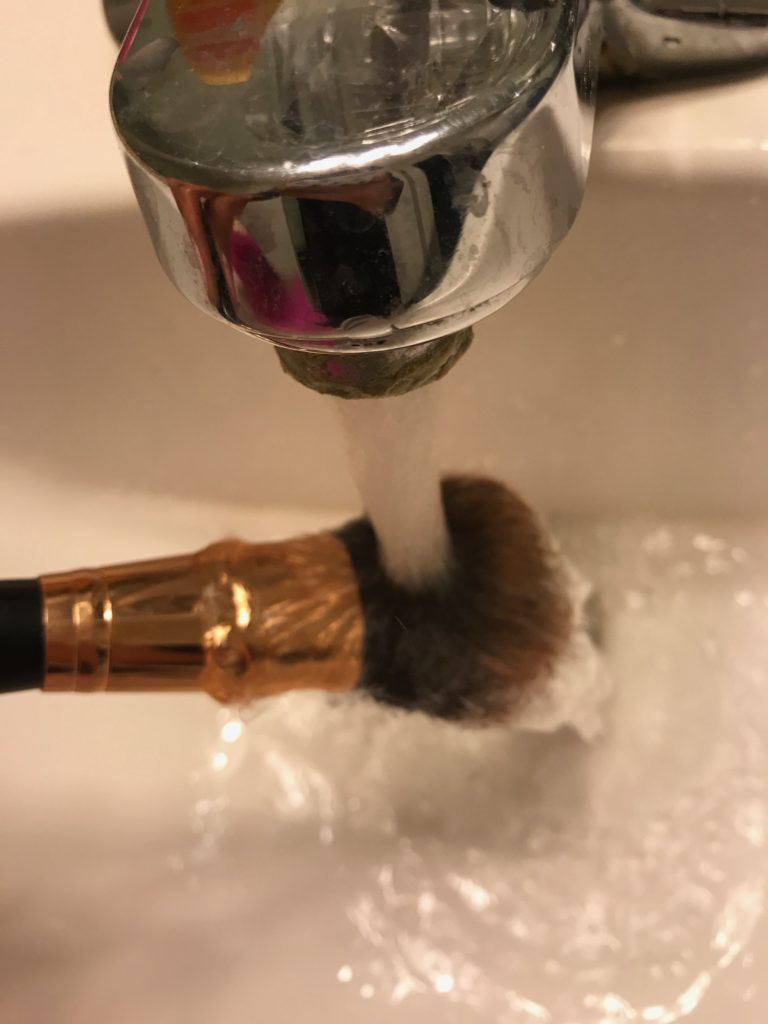
First, get your brush wet under lukewarm water. Be really careful to not get water above the ferrule (the gold part of the brush in the picture below). Getting water in there will weaken the glue holding the hairs of the brush and could ruin your brushes over time!)
Next, dip your brush into your cleaning mixture. A little bit goes a long way and you can always get more!
Next swirl your brush in circular motions over your glove. Use larger, face brushes on the side with bigger bumps and lines, and use smaller eye brushes on the side of the glove with smaller, closer together bumps and lines.
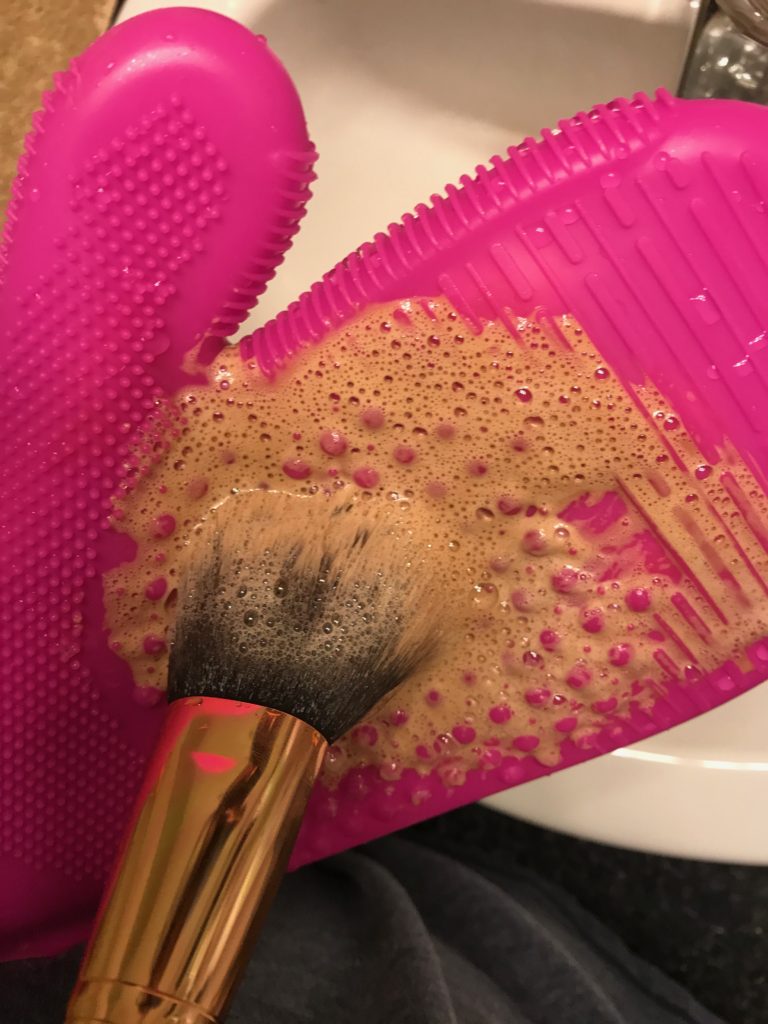
Continue to swirl and rise your brush until the bubbles turn white. Make sure you’re rinsing the dirty bubbles away so that they aren’t getting back into your brush.

Once it looks like my brush is clean and I’m not really getting anymore bubbles, I like to take off my glove and just do the same thing on my hand just to make sure I can’t feel anymore soap in my brushes.
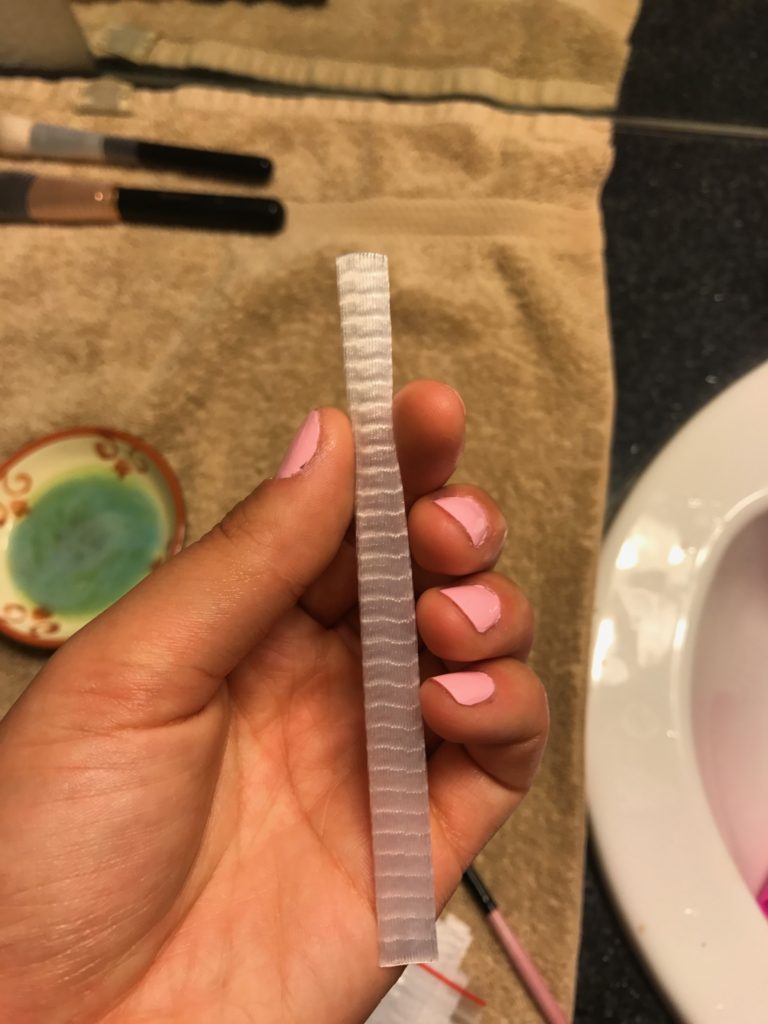
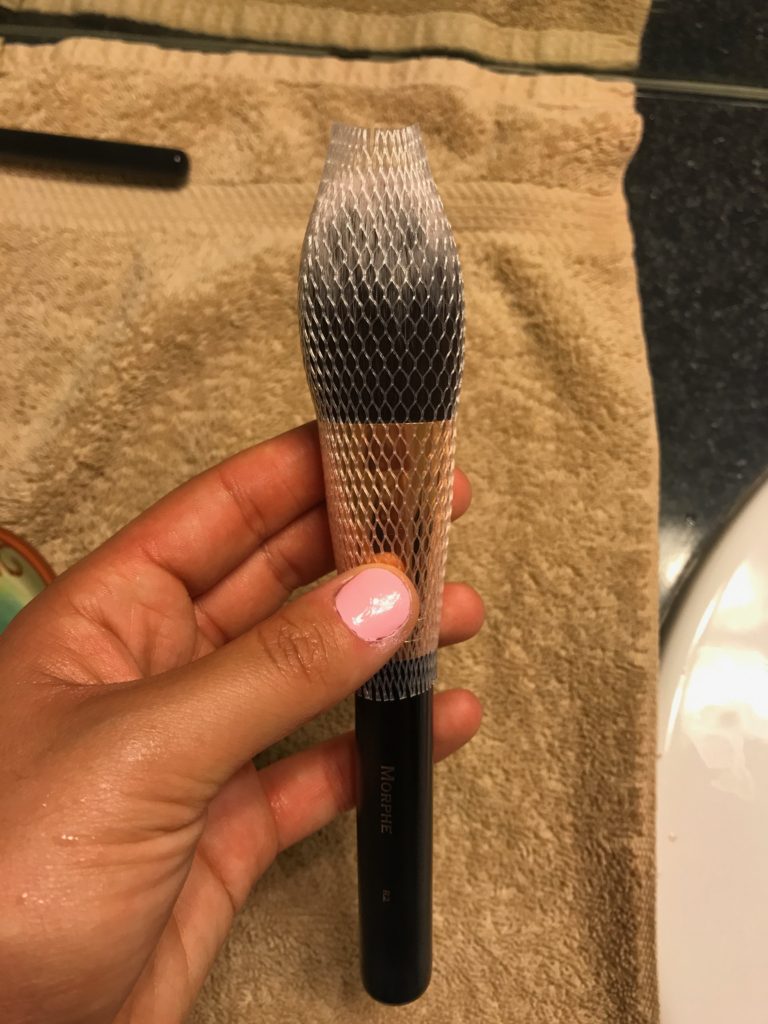
From there, form your brush back into shape as best you can, slip a guard on it to make sure the brush holds its shape and doesn’t fray, and then set it on a towel to dry. I have included a picture below of the mesh guards I recommended. Make sure you put the guard on from the bottom of the brush to the top so you don’t fray the brush while you’re putting it on.
Here is a video of the process:
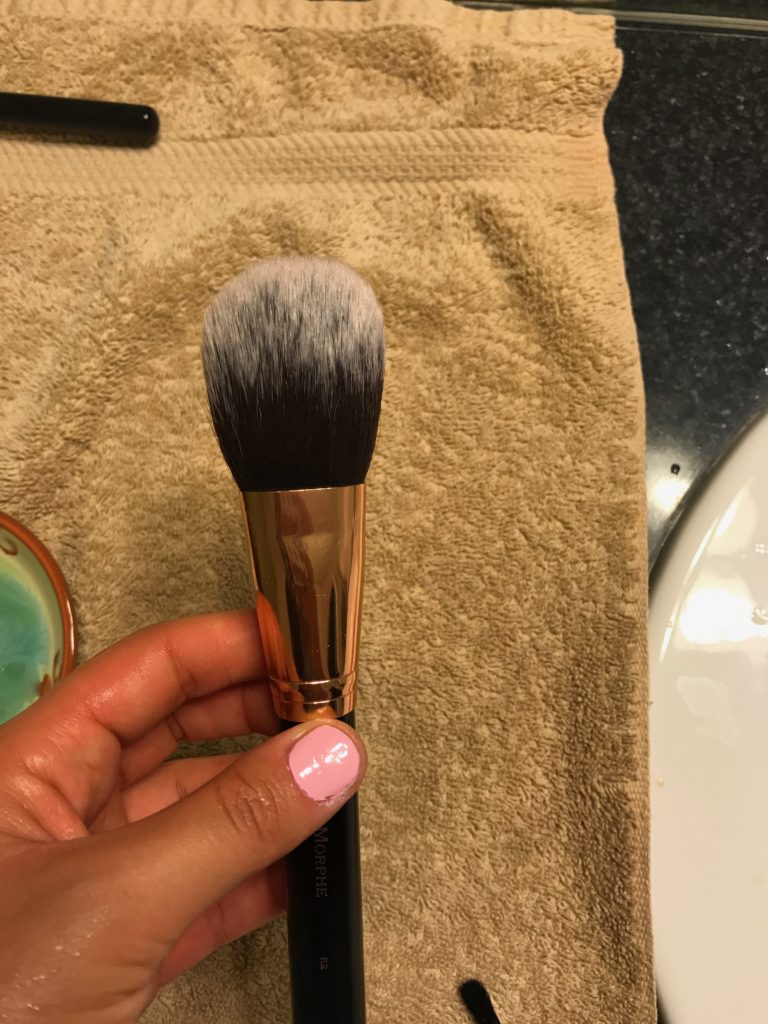
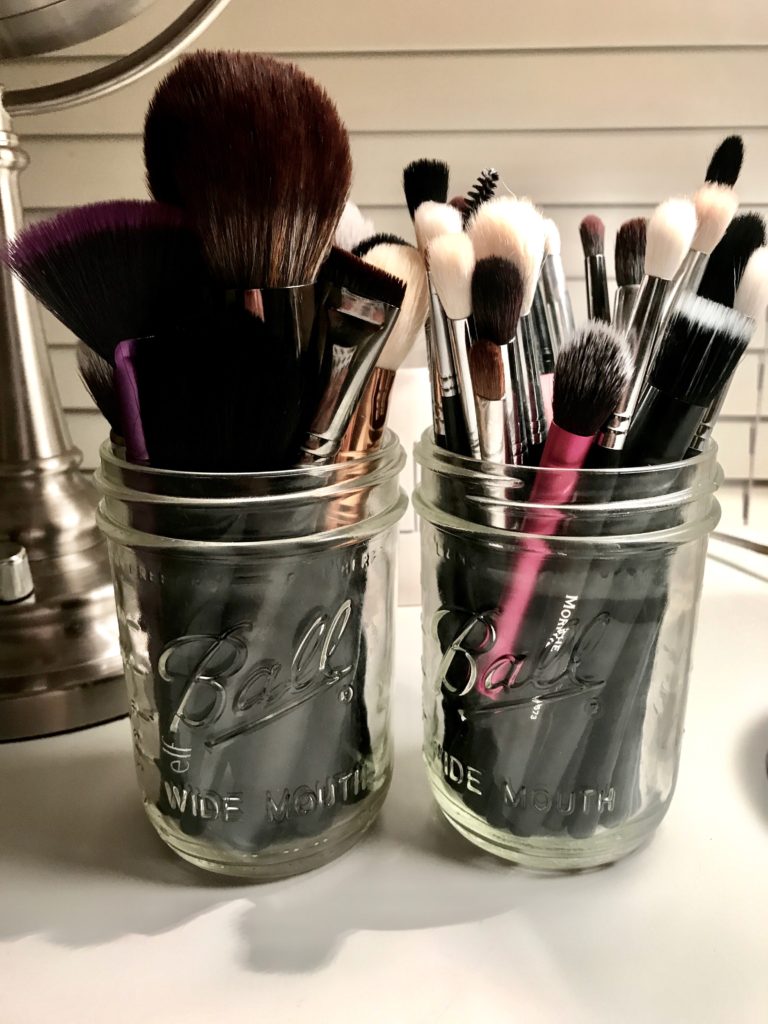
And wah-lah! Clean brushes. I know this amount of makeup brushes looks excessive, but thats because it is.

THE WAIT:
I usually like to clean my brushes in the morning right after I’m done doing my makeup so that I can give them as close to 24 hours as possible to dry. You can take the mesh guards off the brushes after a few hours, they are just there so that they hold the brushes shape while it initially dries. Some brushes, especially goat hair brushes (with white hair) fray really easily, so I leave the guards on those until they are completely dry.
Tada! Best feeling ever. Incase you are in the market for some new brushes (I will do a full post on my must haves later) some brands to check out are Morphe, and Sigma. That’s all for this post! Let me know if you end up trying out this method to clean your brushes and what you think! Until next time!
xx,